Mondragon Merch
Mondragon Roller™ - Soft Lvl. 1
Mondragon Roller™ - Soft Lvl. 1
End of The Year Sale!
Couldn't load pickup availability
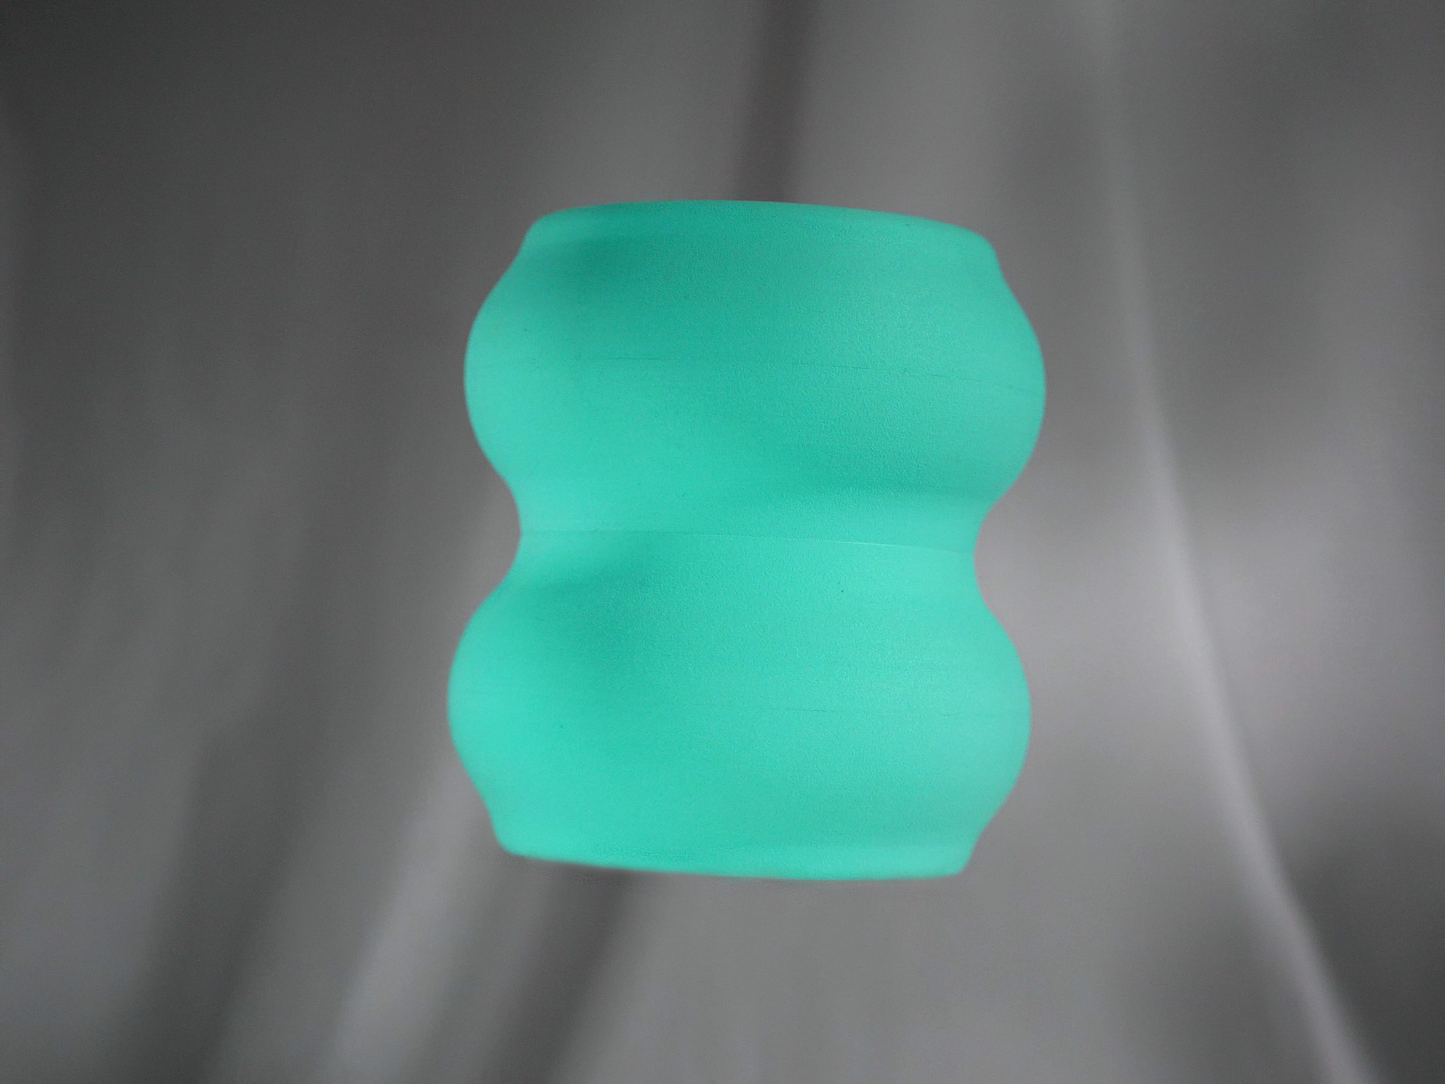
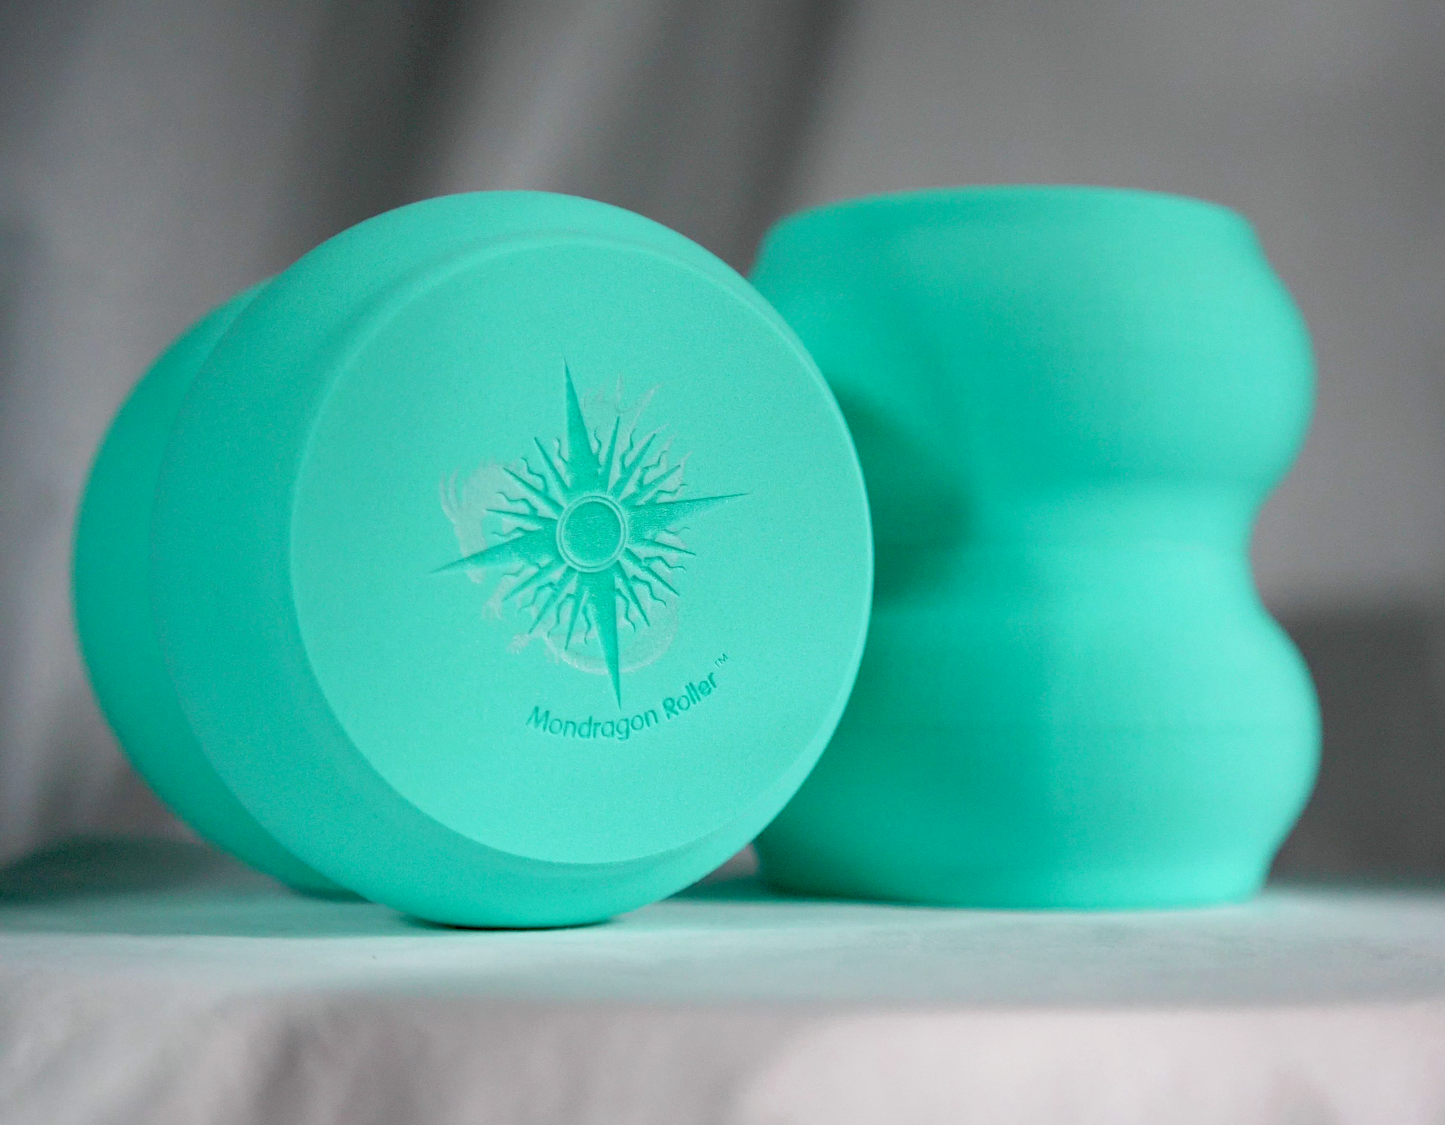
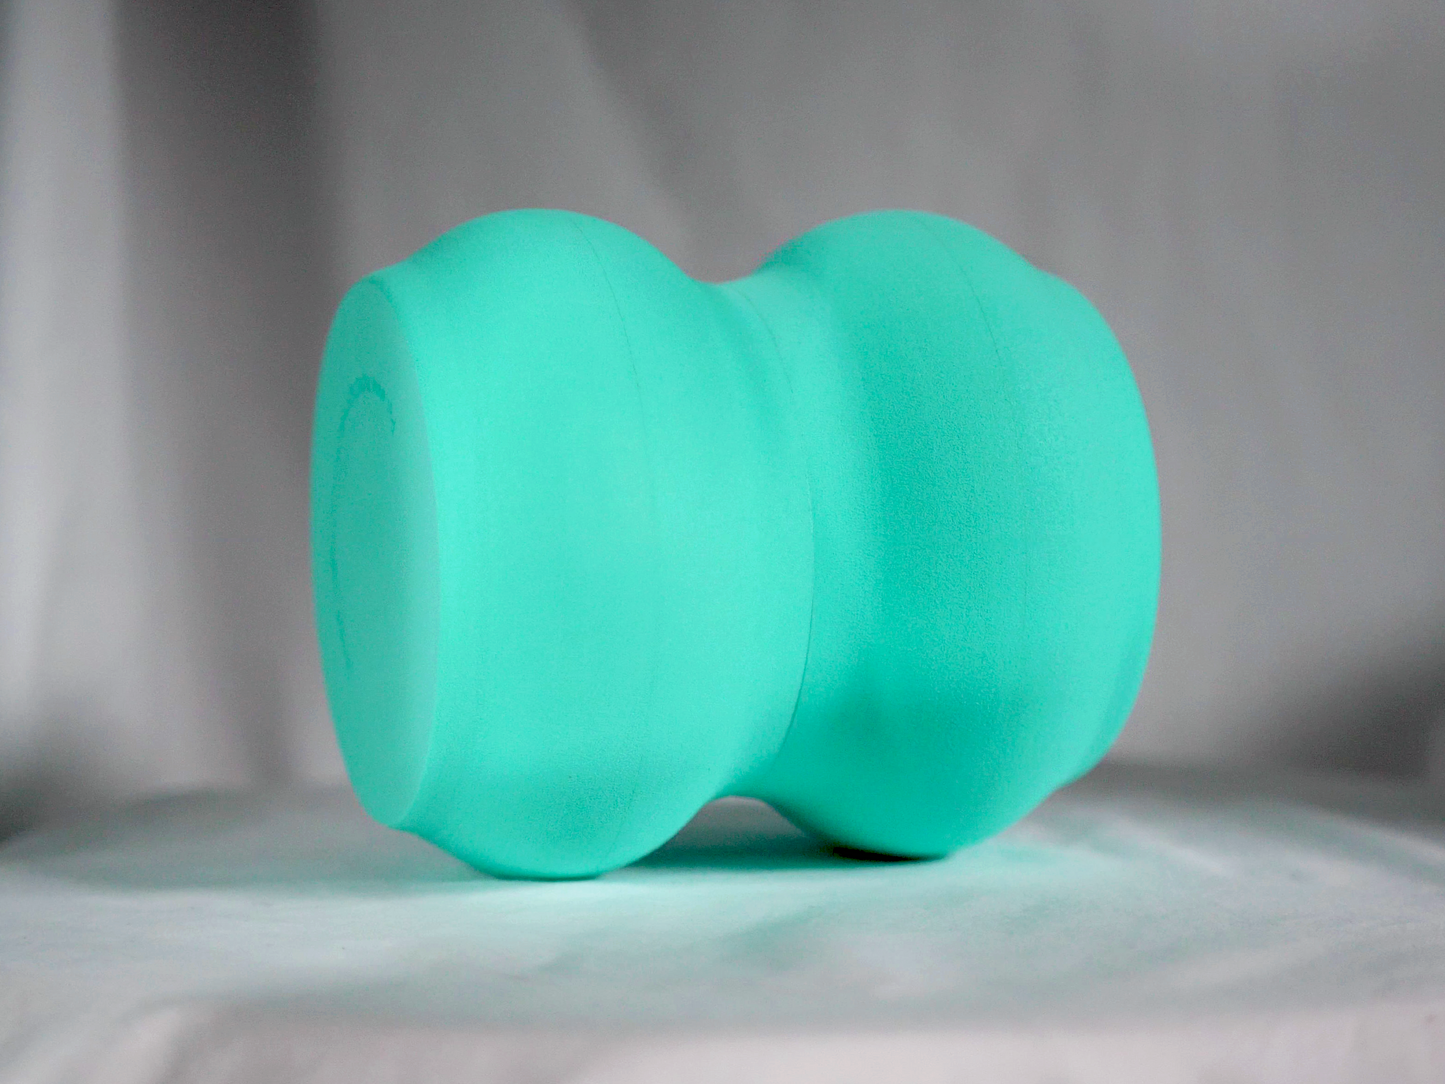
Introducing the Mondragon Roller ™ Lvl.1 - perfect for beginners!

With the same design as the original, experience the benefits of a softer version of our patented design to ease and soothe your muscles during exercise gently. It is made to help people relax muscle tension and target those hard-to-reach areas between your shoulder blades.
ALL SALES ARE FINAL for this product. Please review our Return, Refund and Shipping Policies.
Discounts are deducted from the sales price before calculating sales tax and do not apply to taxes or shipping and handling fees.
Note for International purchases: We are not responsible for any customs restrictions, tariffs, or other regulations that may apply at Customs in any country. Any duties or taxes that may apply are your responsibility.
Subscribe to our Newsletter too! Remember to check your spam and add us to your contacts!
WARNING: DO NOT STEP ON IT. This product is intended for general self-myofascial release as part of an exercise program. Because risks are associated with any exercise program, please consult with your healthcare professional before starting a new exercise program or adding this product to your current plan. Do NOT use this product if you have a serious injury, such as a muscle tear or break, or if you are pregnant. This product is NOT a toy, and is not intended for use by children without adult supervision. NOT intended for use on small joints like your knees, elbows, ankles, or low back. Come off immediately if you experience dizziness, numbness, tingling, nausea, vertigo, or any radiating symptoms; discontinue use and seek out medical guidance. Statements regarding health benefits have not been evaluated by the FDA. This product is NOT intended to diagnose, treat, cure, or prevent any disease or health condition. We DO NOT warrant that the quality of product will meet your expectations or any specific intended use, or that any certain results may be obtained from the use of the product.
Materials
Materials
Body: Polyurethane (EVA).
Shipping & Returns
Shipping & Returns
See our Shipping Policy
See our Return Policy
Dimensions
Dimensions
6.25" x 5.75" x 5.5"
Weight: 4.49 oz
Care Instructions
Care Instructions
Spot clean with damp cloth.
Share
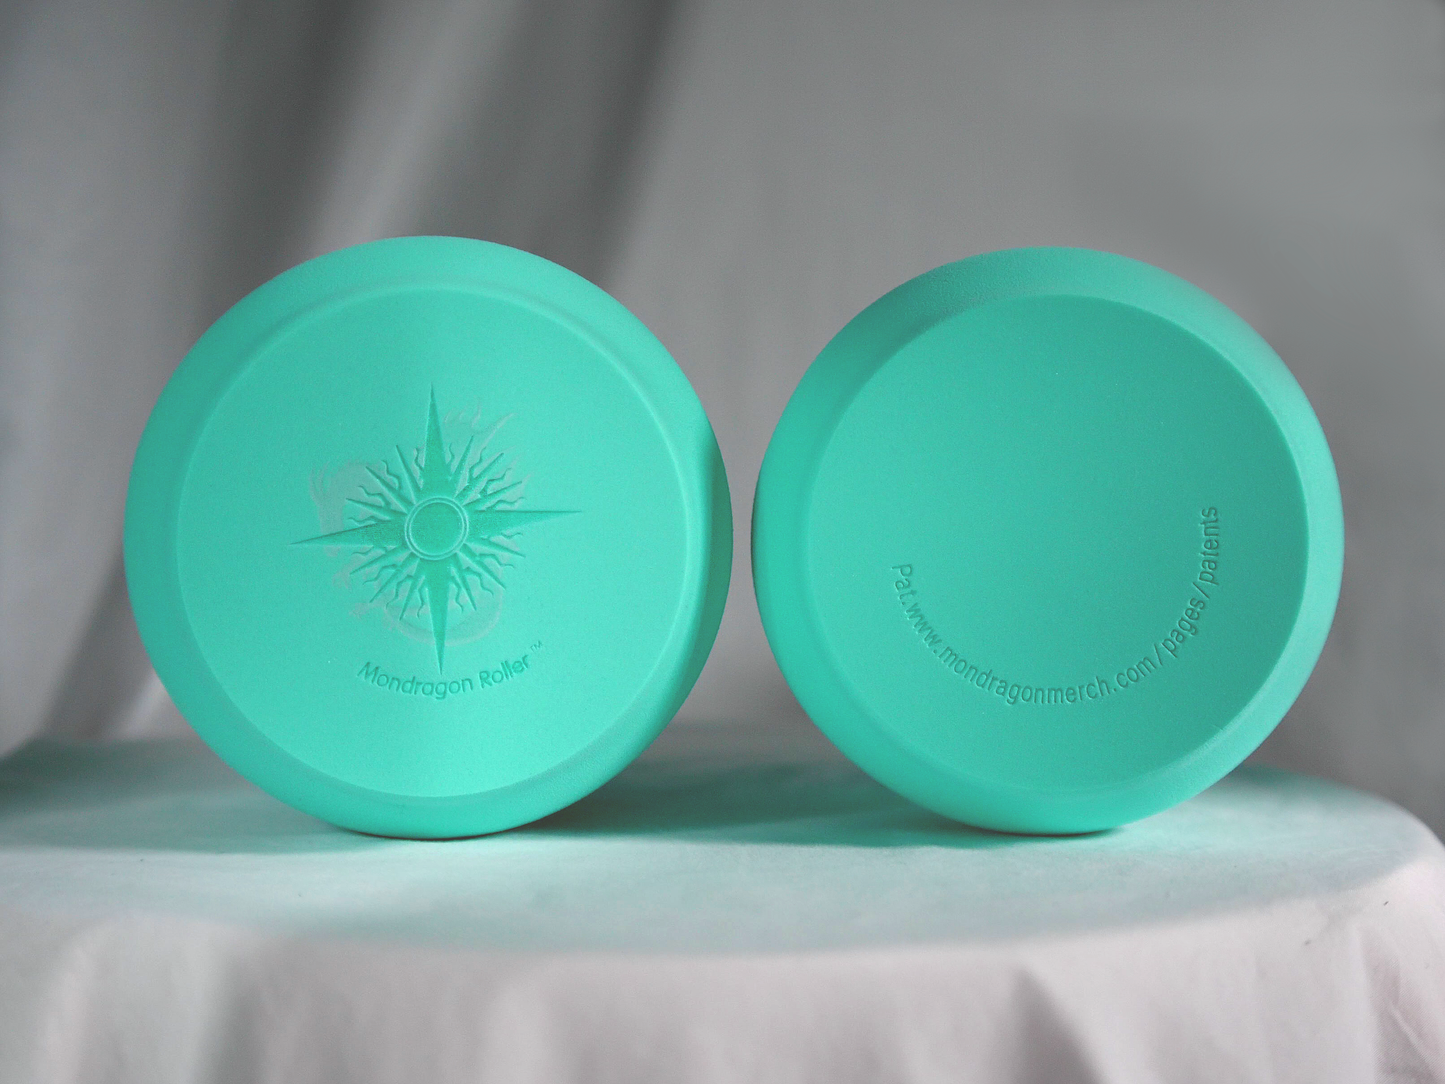
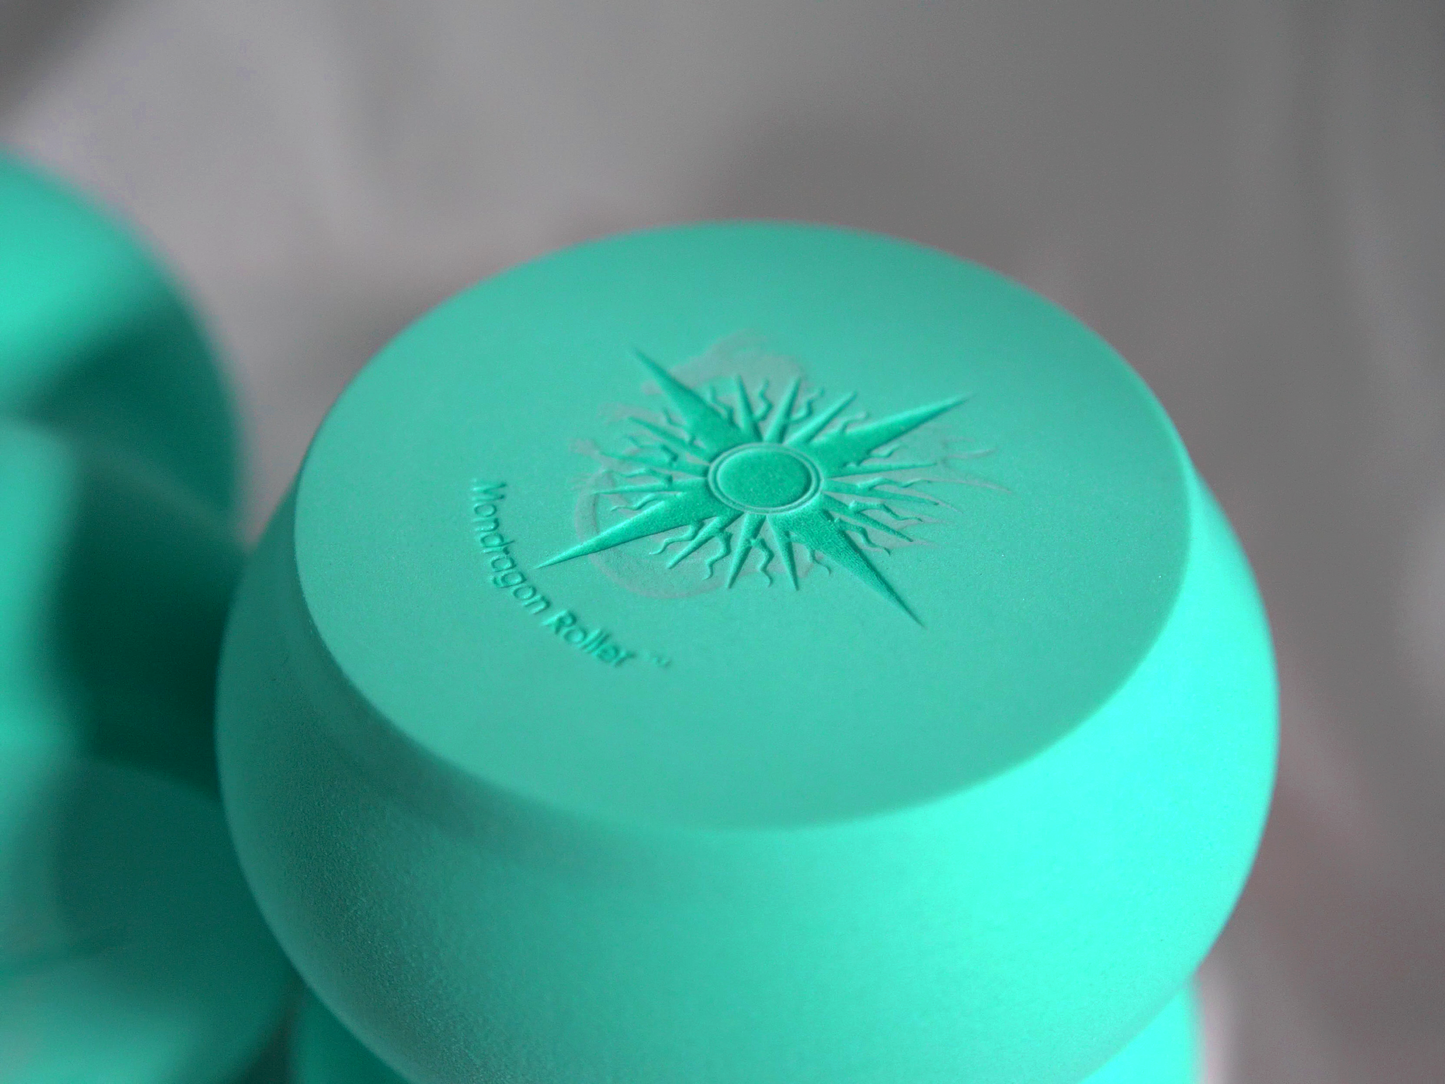
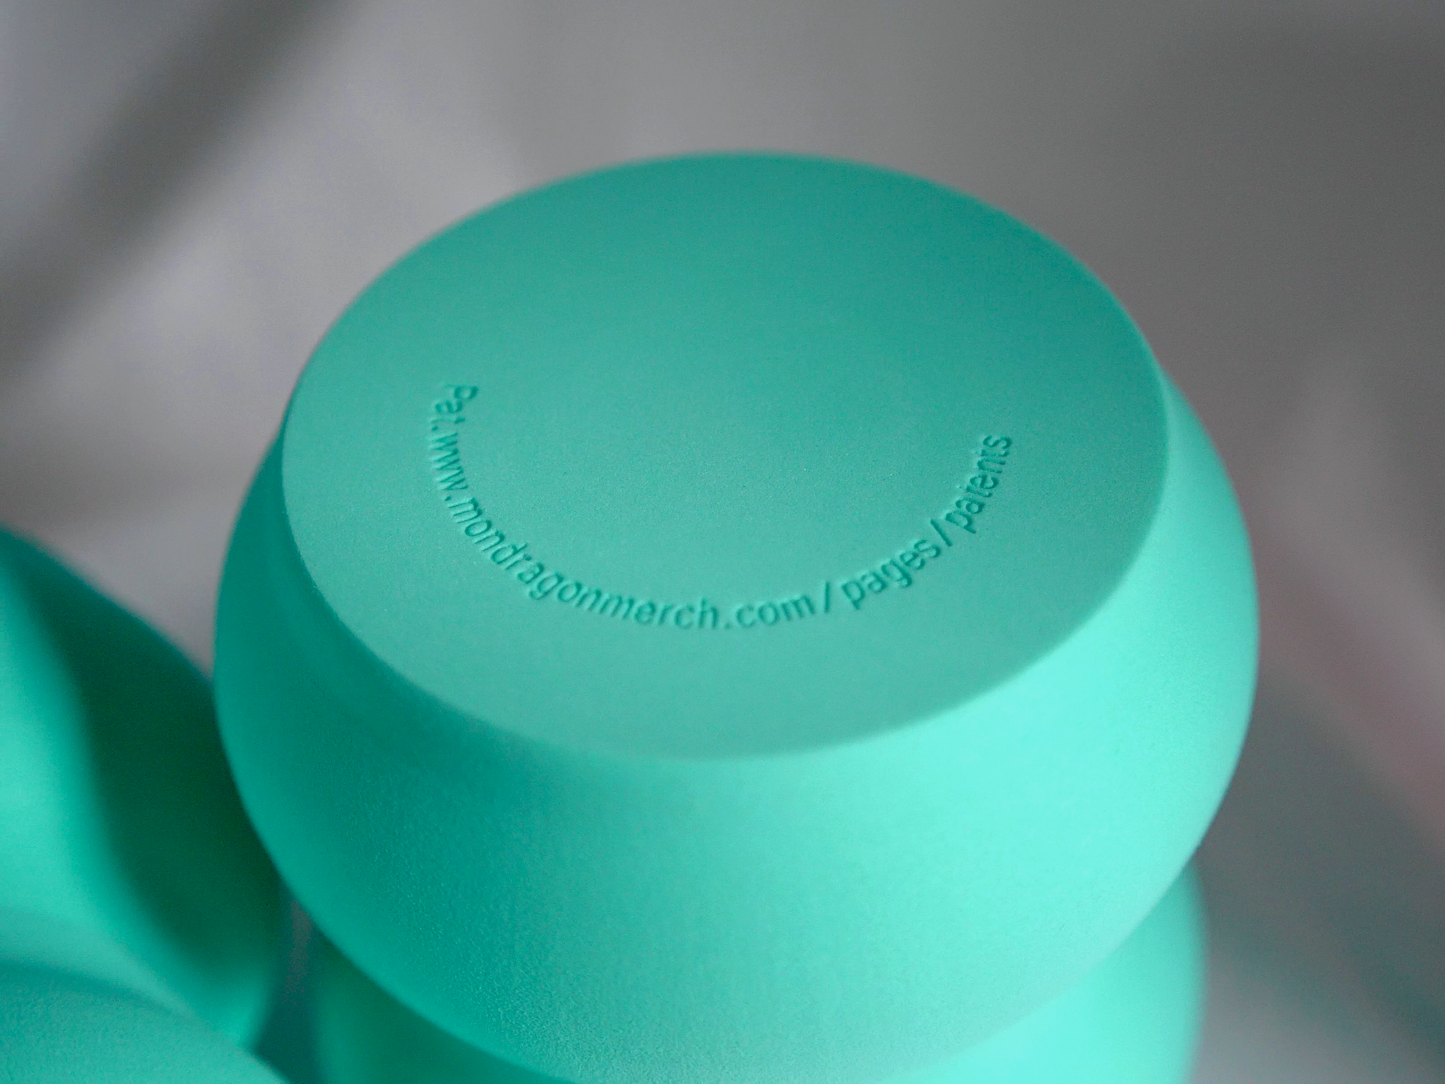
-
Cushier Feel
Featuring a softer and cushier density, this Mondragon Roller TM can relax muscle tension while still delivering optimal performance. Adds a touch of coziness during workouts and sensitive areas.
-
Perfect for Beginners
For beginners embarking on their rolling journey, this Mondragon Roller TM can be the ideal partner in any workout regimen. It delivers the ideal amount of pressure for those starting out with foam rolling.
-
Same Design
Both Mondragon Roller's TM feature a design uniquely crafted to target hard to reach areas and cup the muscles to ease tension. Say goodbye to tension with their specialized design that hugs your muscles and melts away tension.
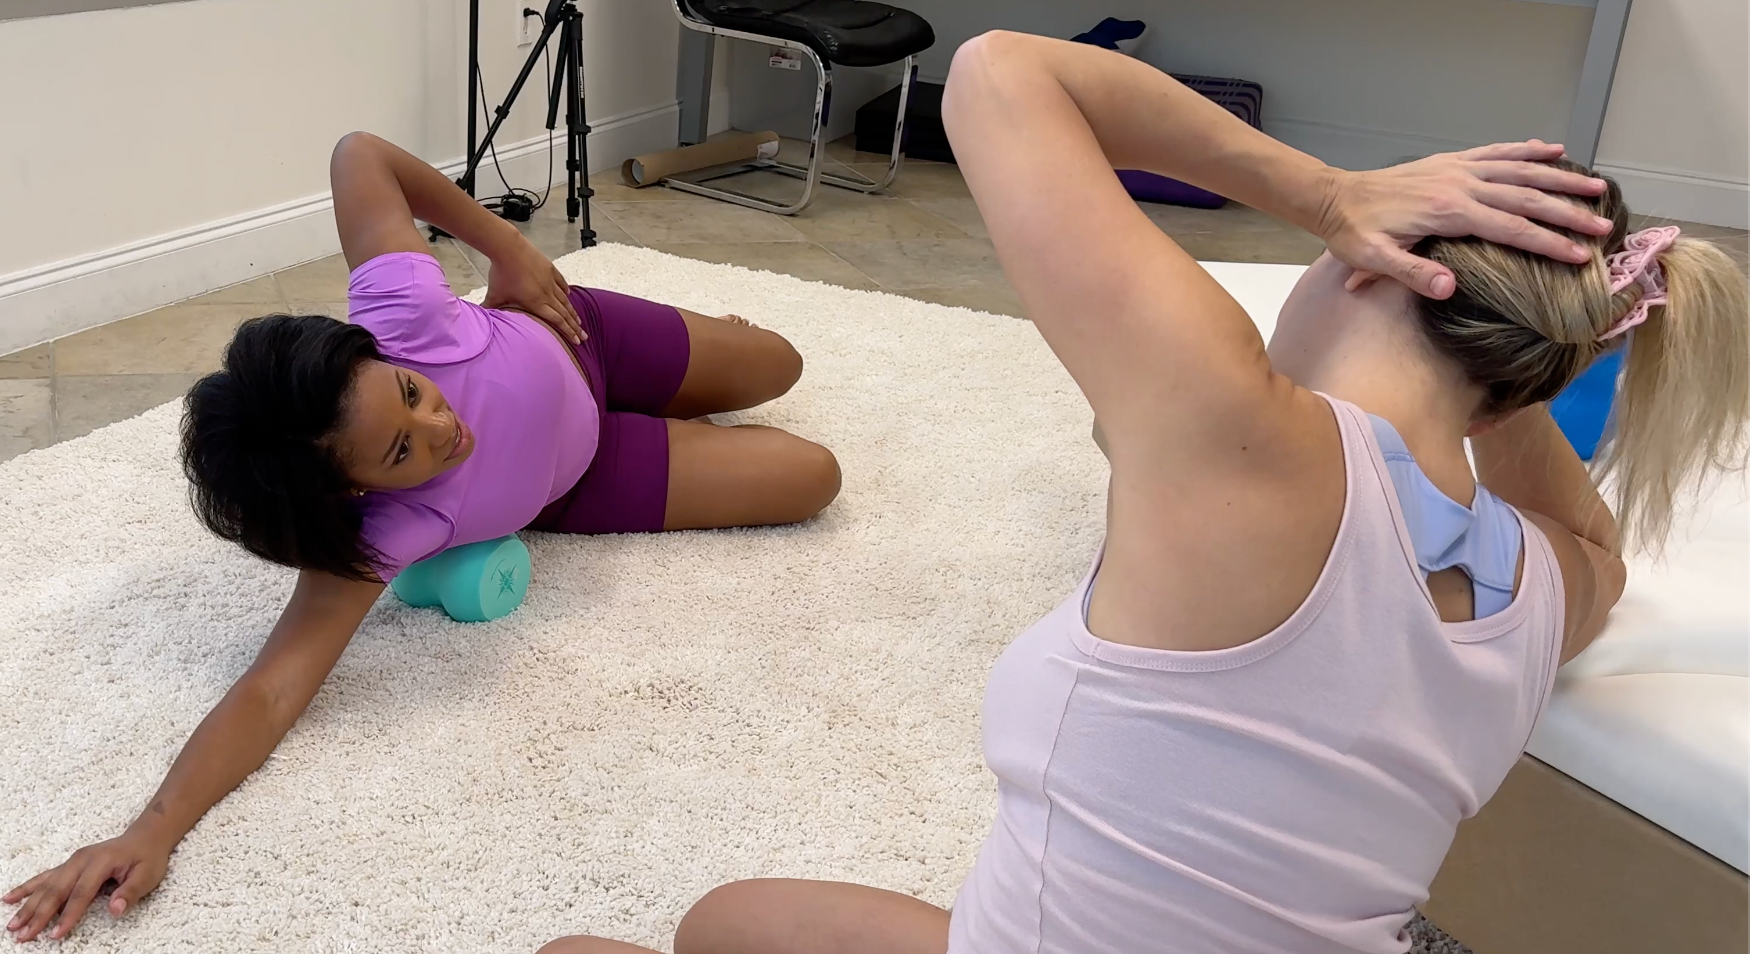
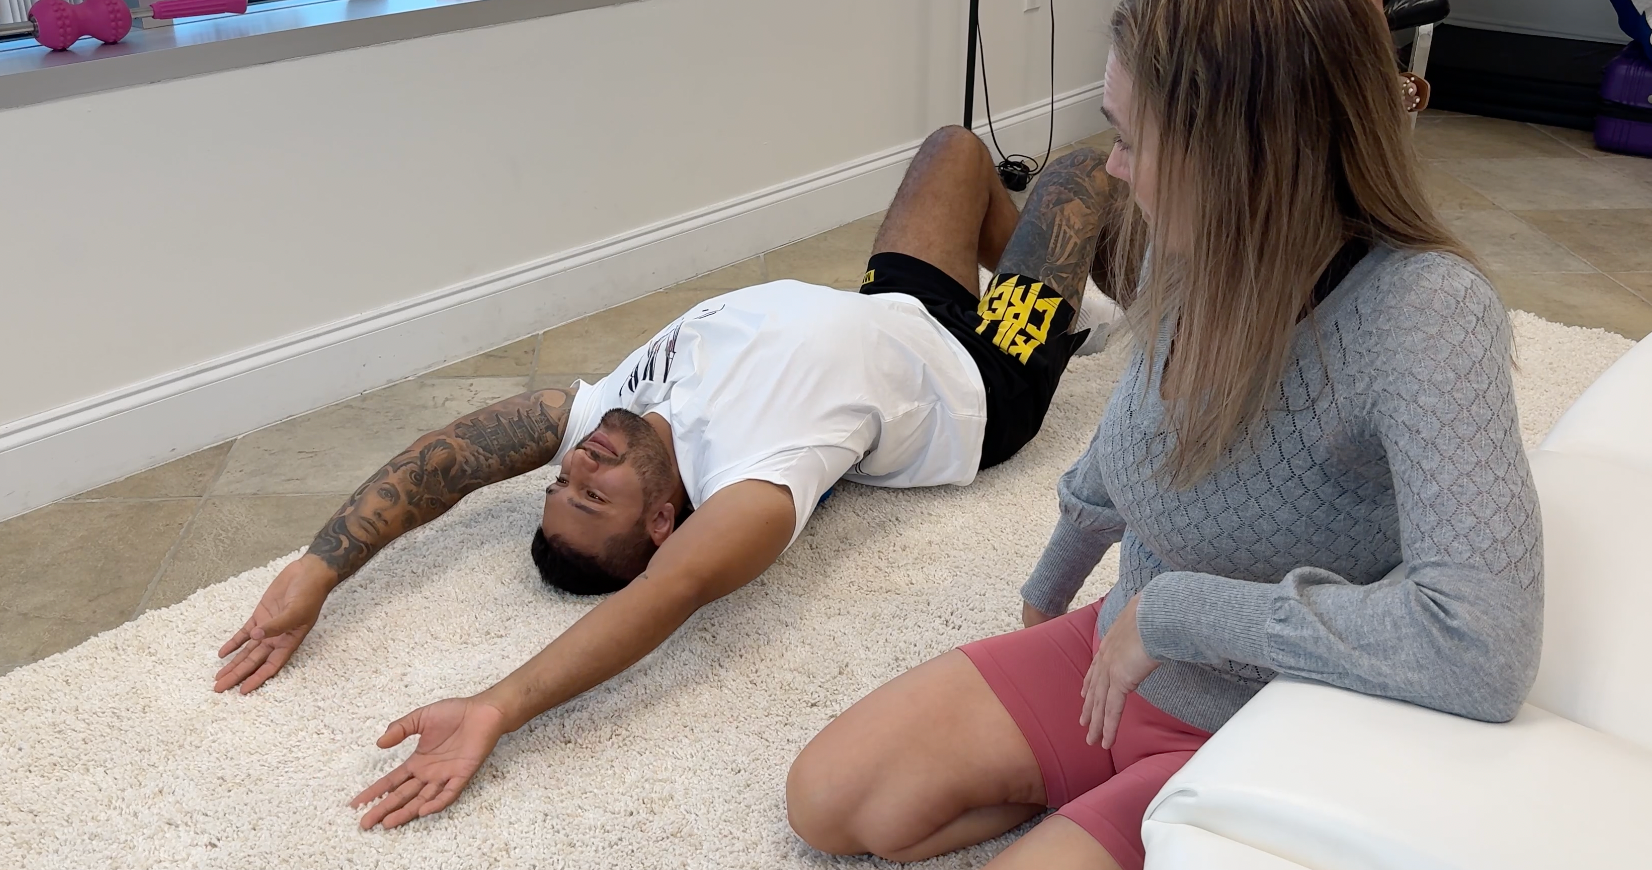
I received the roller and immediately tried it. Then my brother tried it. Both of us think it is amazing. I will continue to use it regularly as my back feels a lot better afterwards. Great Quality product that has been designed with care.
This is just what I needed. Does a lot more than your standard foam roller.
I bought mine a couple weeks ago and I absolutely love it! I’m an automotive mechanic and I’ve seen almost all my coworkers have back issues from years of bad posture, or have moderate muscle tension. So I decided to be proactive about stretching and strengthening my body, then Dr. Mondragons videos popped up in my instagram page and I found her advice/videos to be the most informative out of everything on the internet. After weeks of stretching I decided to purchase the level 1 roller, it may be the greatest purchase I’ve made.
The product feels like it’s made from high quality materials and it doesn’t deform like something you could buy at a sporting goods store or on Amazon for the same price. It doesn’t collect dust or debris, and it’s easy to wipe down. I accidentally got motor oil on it (from one of my work shirts) and it easily wiped off using Tub O’ Towels wipes.
It’s difficult to describe, but I feel awake now. The roller has allowed me to advance my progress and feel better. I would highly recommend this product to everyone!
A very nice roller helps with stiffness and helps me become more flexible.
Just as great as expected, perfect for stretching out the upper back, thank you!
How to use the Mondragon Roller™
Step-By-Step Guide

.
Step 1: Find a Comfortable Space
Before you begin, find a comfortable and quiet space where you can lay down and have enough room to move freely. It's important to create a relaxing environment to fully benefit from the back roller.
Step 2: Position the Roller
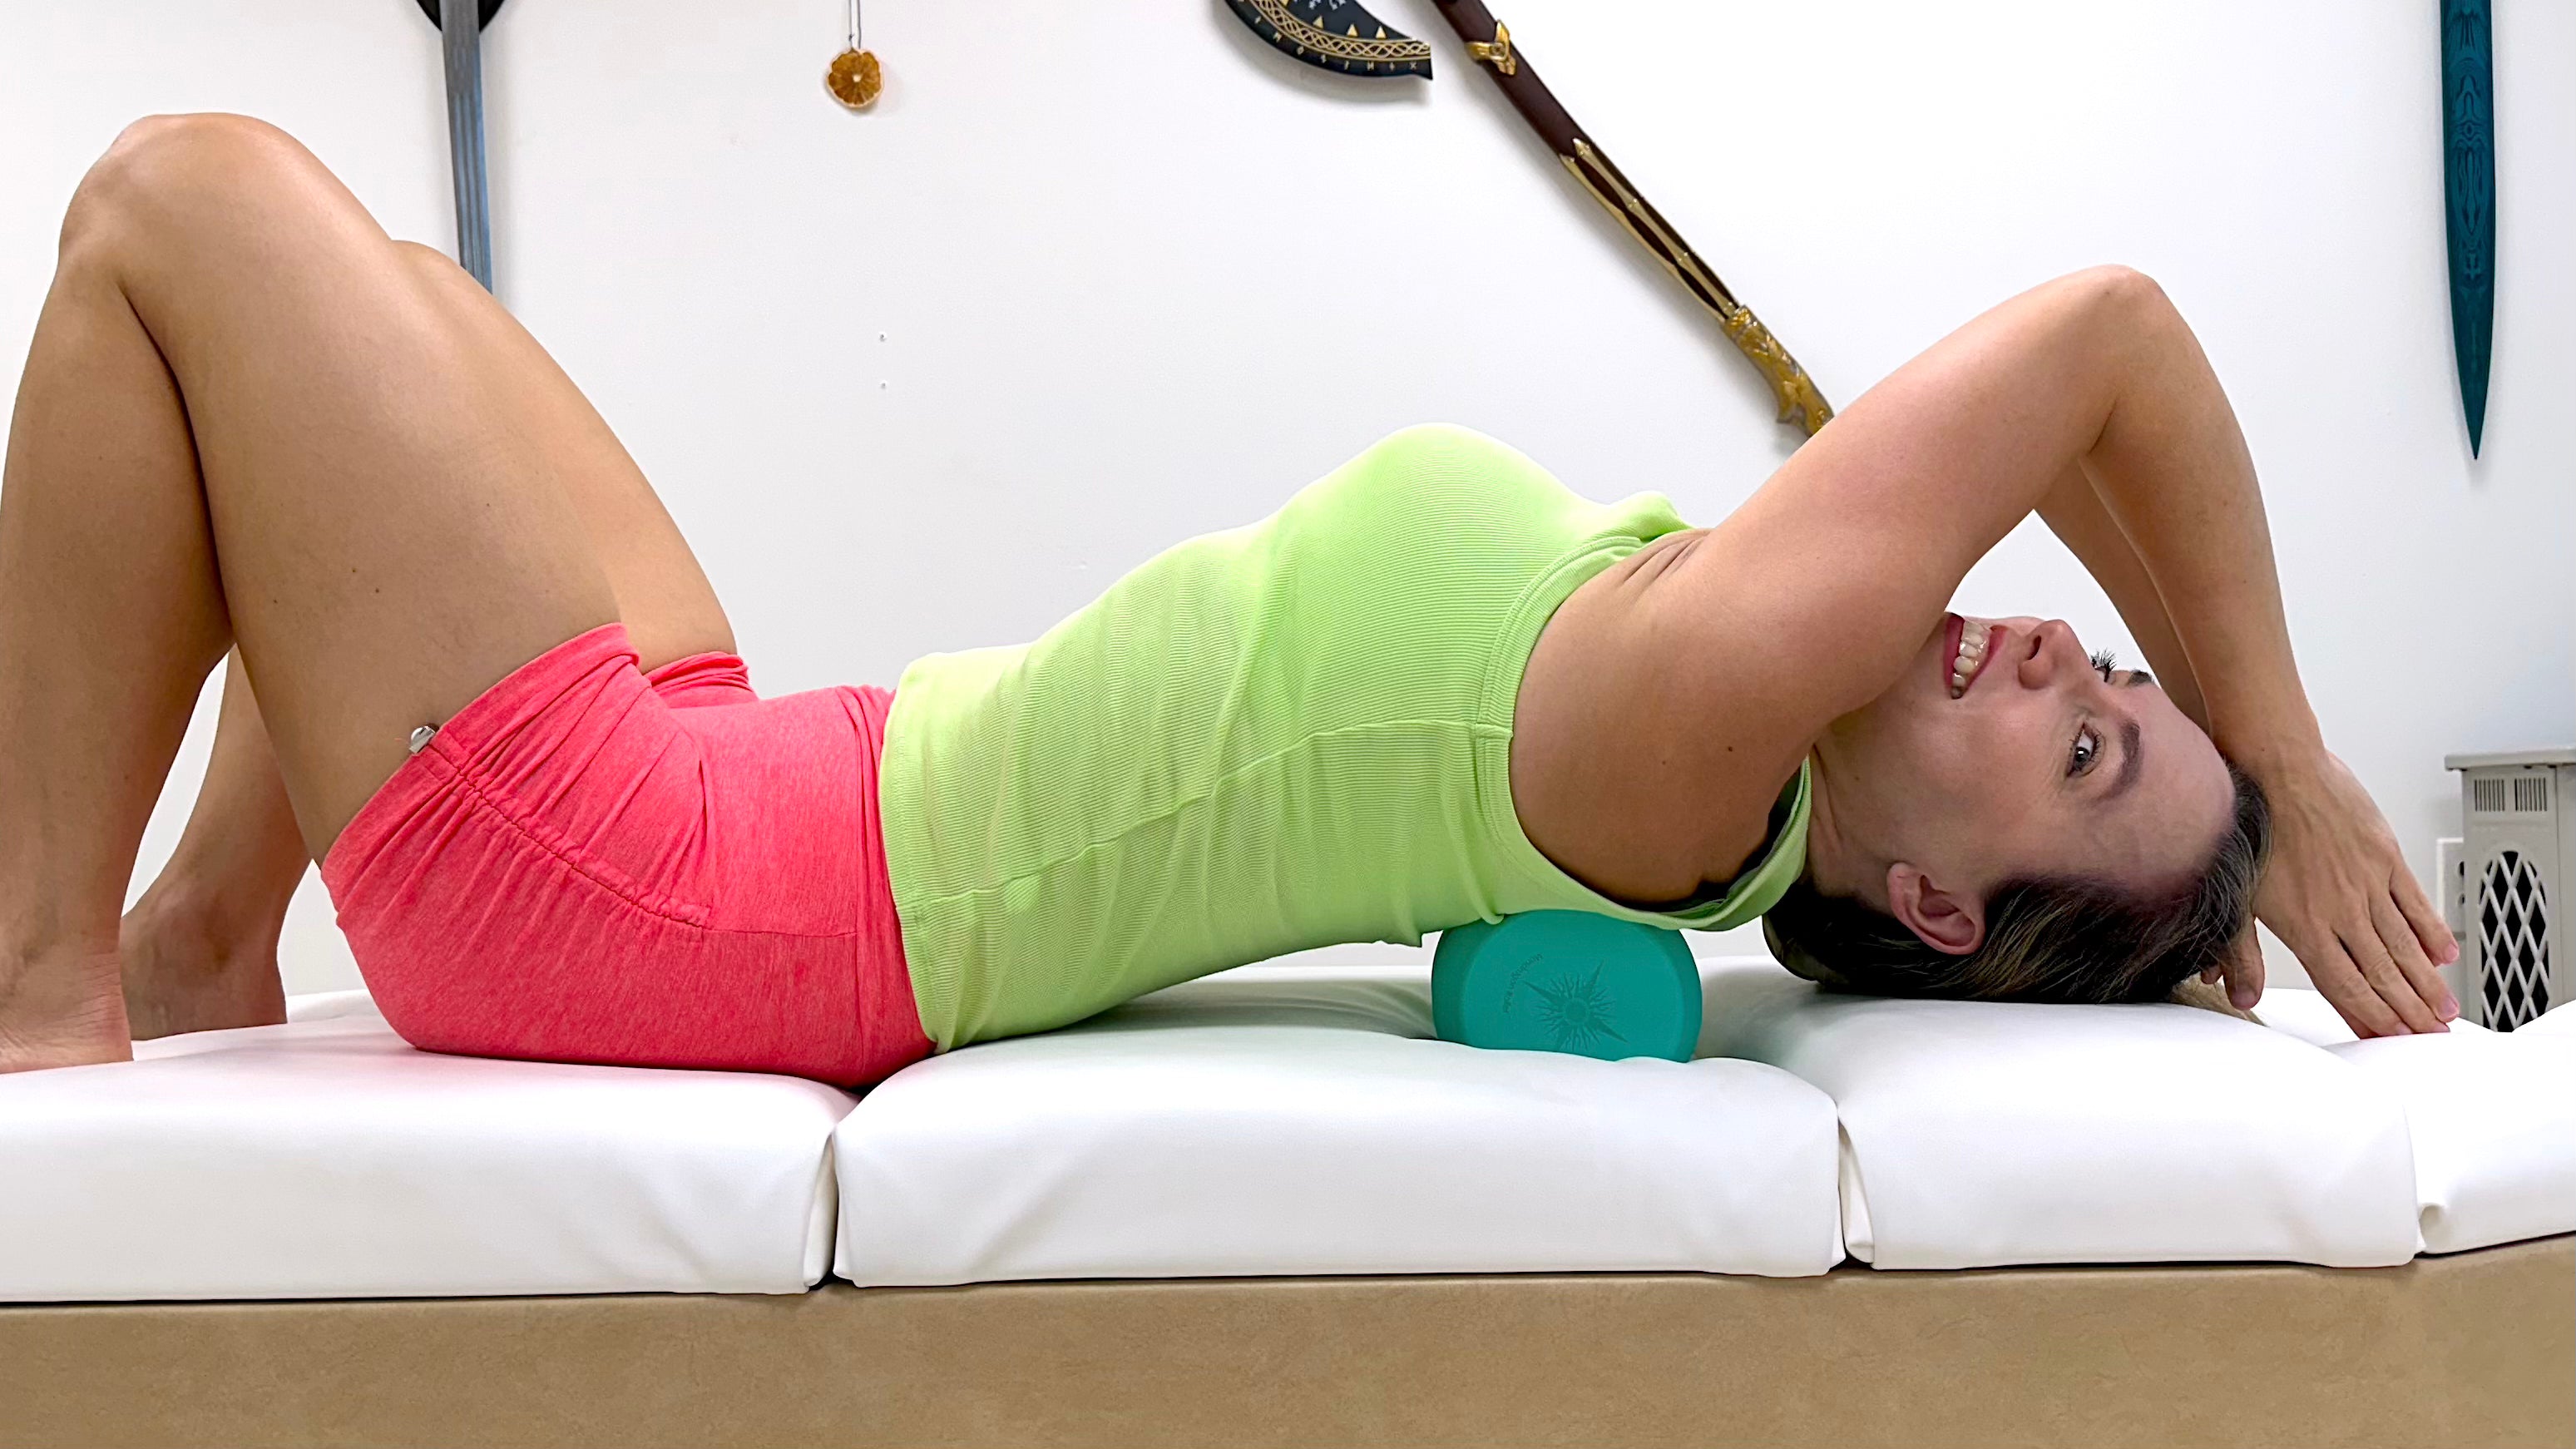
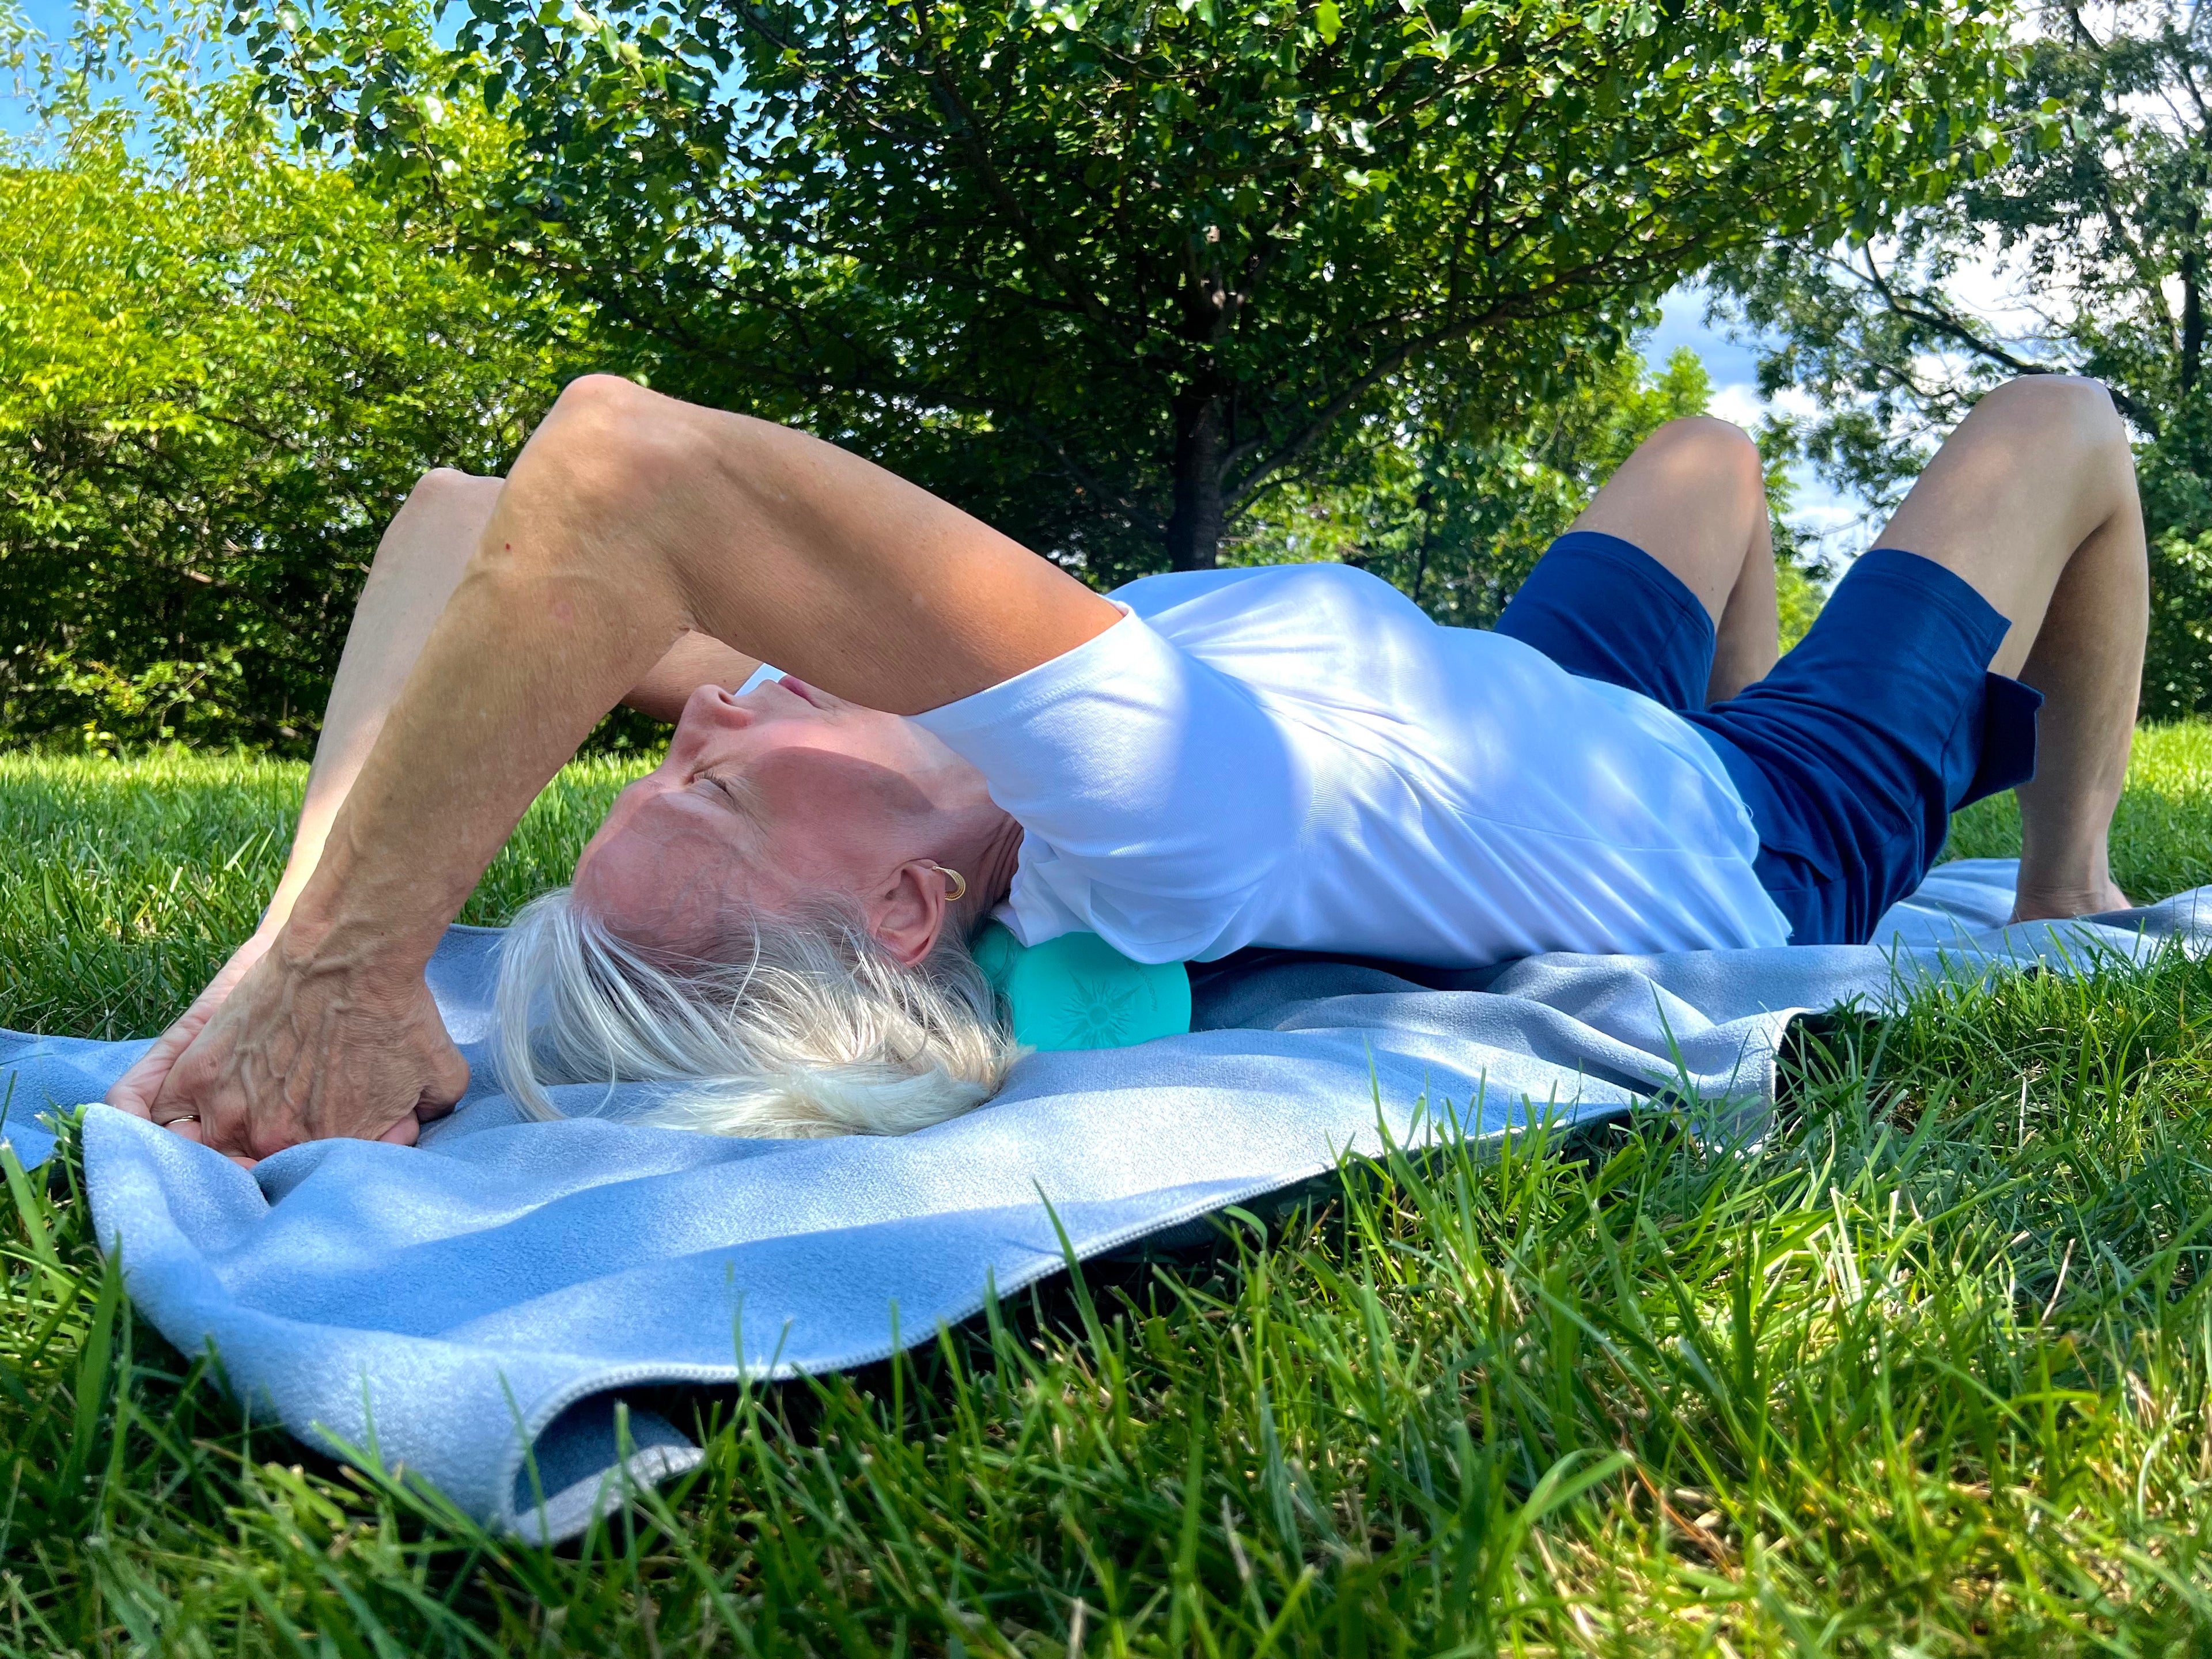
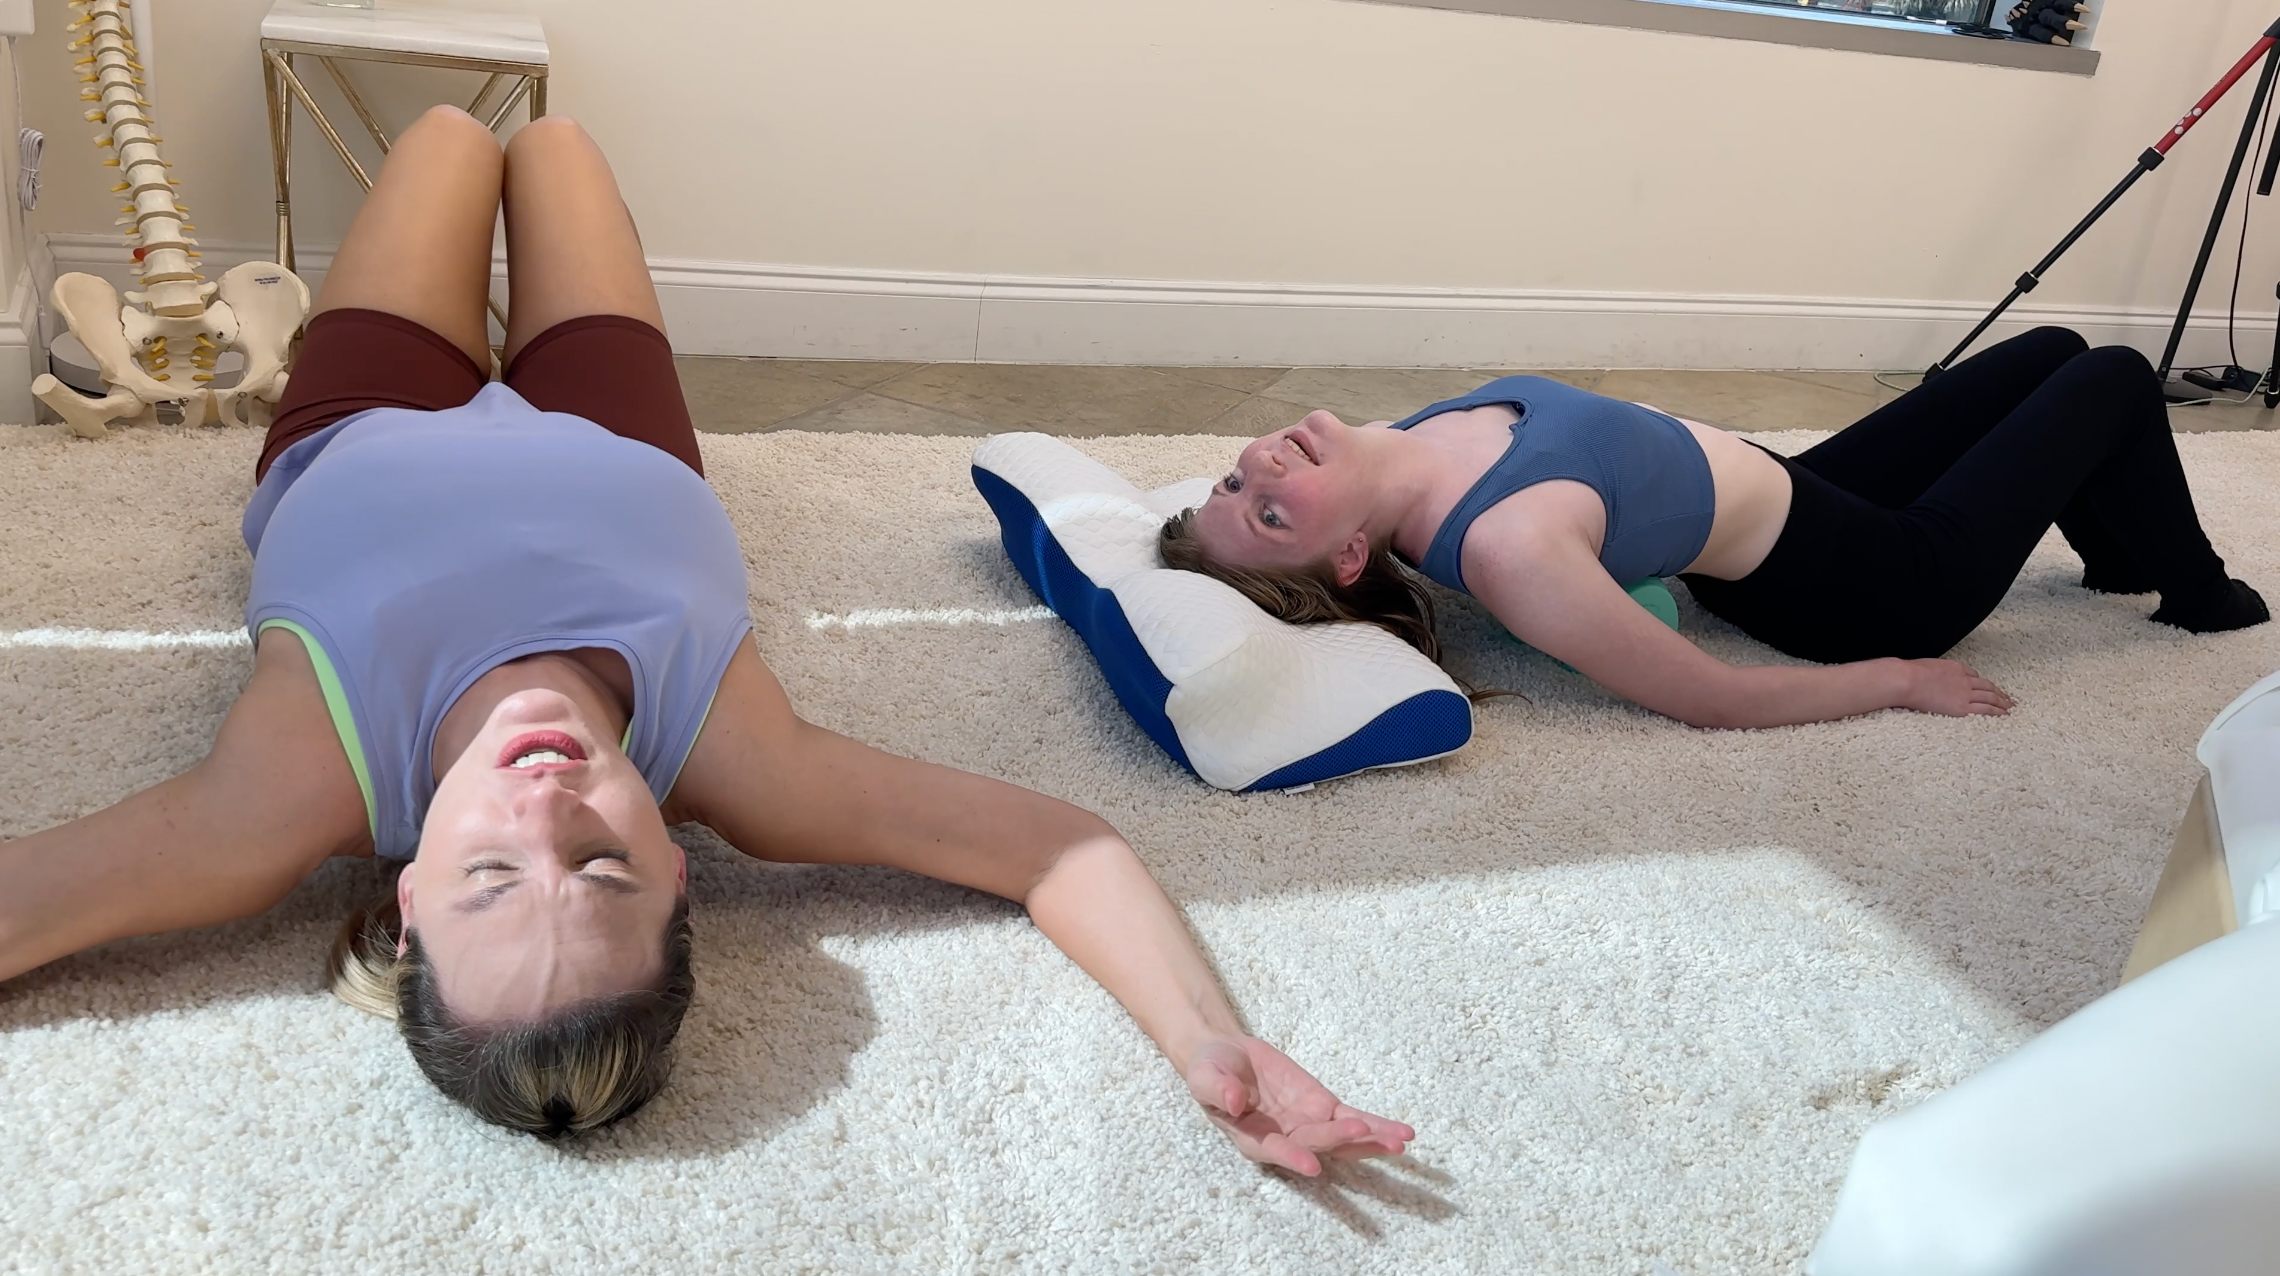
Place the back roller on the floor and position it horizontally. Lay on the roller with your knees bent with feet and butt flat on the ground. Slowly lie back, ensuring that the roller is aligned with your spine.
This device is NOT intended for use on small joints like your knees, elbows, and ankles or lower back.
For your arms you can either place them on your stomach, to the side, or straight above your head depending on flexibility.
Make sure your neck is parallel with the floor. DO NOT let your head hang, as this stretches the arteries in the neck.

For beginners, keep your arms at your stomach. Then you can slowly work your way up to place your arms above your head the more you use the device.
If dizziness, numbness, tingling, nausea, vertigo, and/or any radiating symptoms into upper or lower extremities occurs, discontinue use immediately and seek out medical guidance.
If your head does not reach the floor, feel free to use a pillow for support.


Step 4: Start Rolling
Begin by slowly rolling up and down the length of your back, using your feet to control the movement.
Take deep breaths and relax as you roll, allowing the roller to target different areas of your back.

Step 5: Focus on Tight Spots
Step 6: Getting Off
Step 7: Roll Other Areas
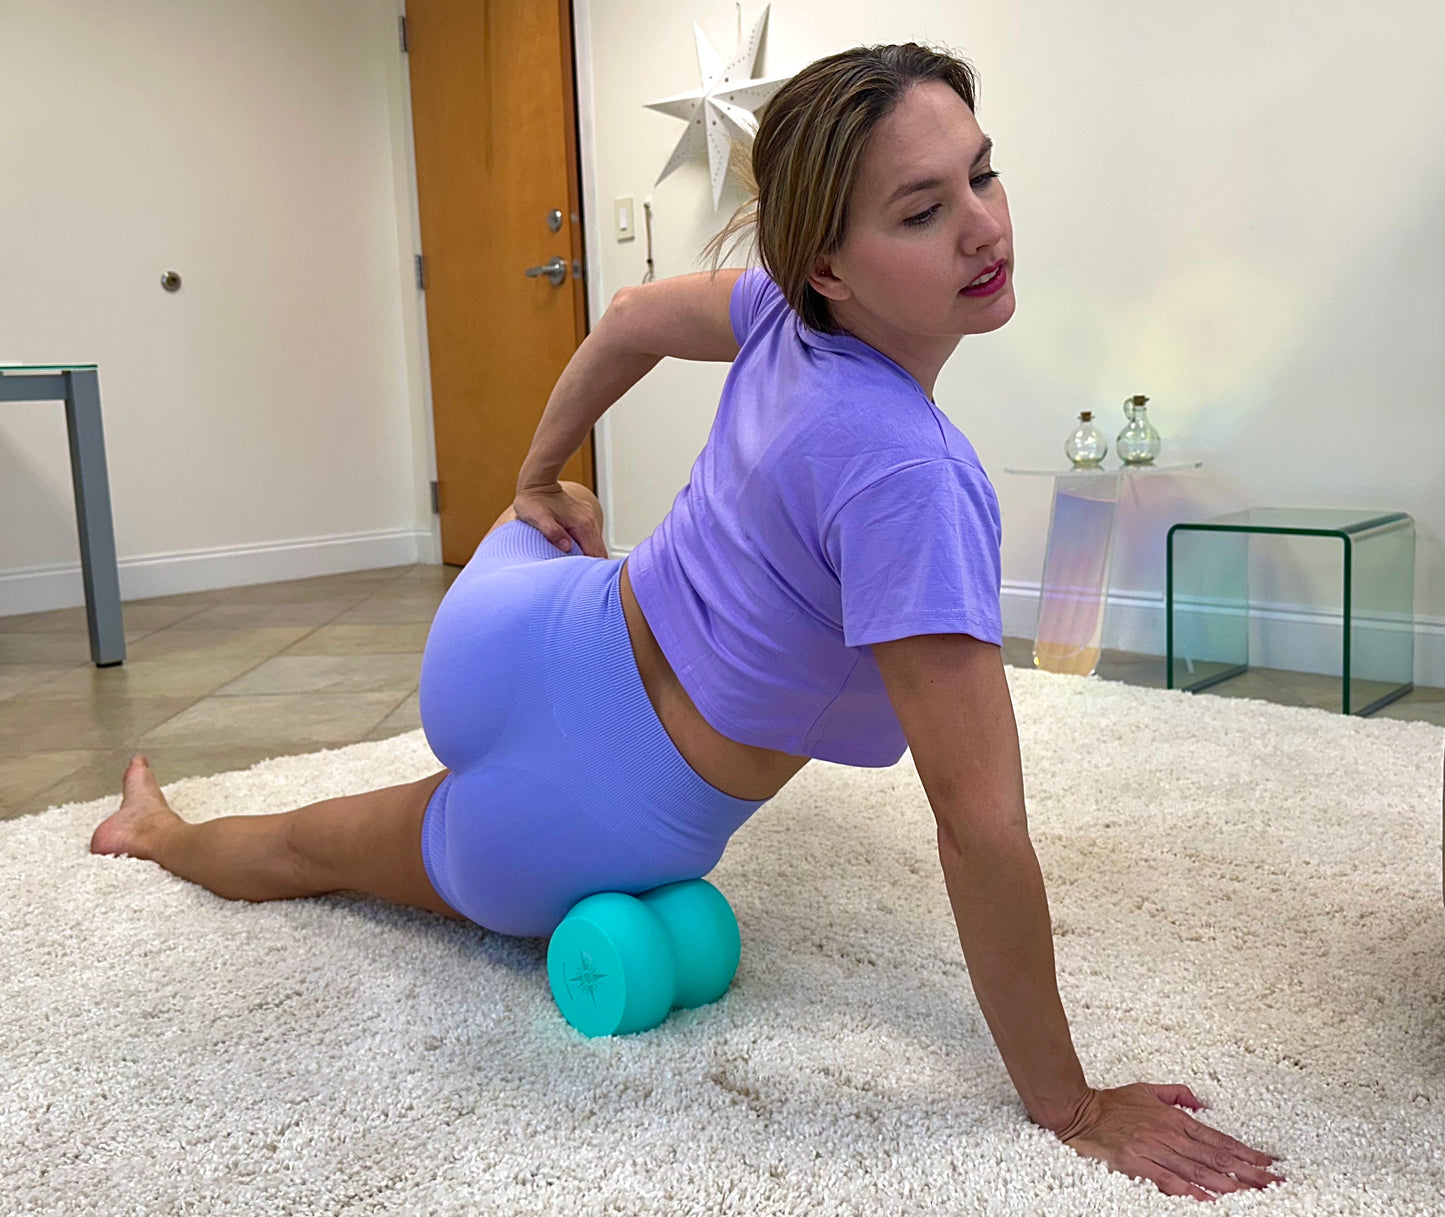
Once you have rolled your entire back, you can also target other areas such as your hips, glutes, and thighs if needed. Simply reposition the roller and repeat the rolling and holding process on these areas.


Remember, consistency is key when it comes to using a back roller. Aim to incorporate this self-myofascial release technique into your regular exercise routine to experience the full benefits. If you have any concerns or pre-existing conditions, it's always best to consult with a healthcare professional before starting any new exercise program.
WARNING:
DO NOT STEP ON IT. This product is intended for general self-myofascial release as part of an exercise program. Because risks are associated with any exercise program, please consult with your healthcare professional before starting a new exercise program or adding this product to your current plan. Do NOT use this product if you have a serious injury, such as a muscle tear or break, or if you are pregnant. This product is NOT a toy, and is not intended for use by children without adult supervision. NOT intended for use on small joints like your knees, elbows, ankles, or low back. Come off immediately if you experience dizziness, numbness, tingling, nausea, vertigo, or any radiating symptoms; discontinue use and seek out medical guidance. Statements regarding health benefits have not been evaluated by the FDA. This product is NOT intended to diagnose, treat, cure, or prevent any disease or health condition. We DO NOT warrant that the quality of product will meet your expectations or any specific intended use, or that any certain results may be obtained from the use of the product.
Subscribe to our Newsletter
Be the first to know about new product and exclusive offers.
Remember to check your spam and add us to your contact list!


